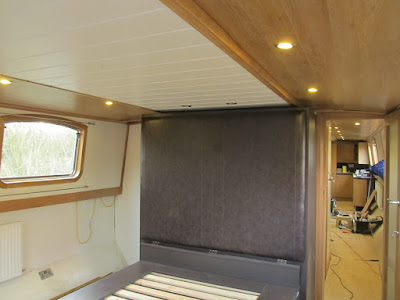
Ive been modifying the steps in the boat. This came about at the front because the water level sender gauge needed recalibrating now its on the water. Previously it was done when it was on dry land during the tank testing etc. It was necessary to remove the front steps to do this and a timely visit from Graham of Matilda Rose fame made the calibration easier as he called out the reading as I twiddled with the adjustment screw 45 feet away.
While I had the steps out I decided to make the top and bottom step liftable as well as the middle one which was already done. Then it dawned on me that I could take the ply floor out under the steps and and have a cooler area to draw cool air from the bilge when its warm in the bedroom. A quick temperature check revealed the base plate (black area) was 12.5 degrees while the inside of the room was 23 degrees. I also changed the 5 micron primary water filter which was visibly quire grubby. Next time the tank is empty I will move the main stop cock as removing the floor has made more room to position it in a better place right out of the tank.

Then it was on the the rear steps. For ages now I have been intending to fit the rest of the of the tiny LED plinth lights. This has made such a difference to the appearance of the kitchen area and of course the steps.


Read More..
While I had the steps out I decided to make the top and bottom step liftable as well as the middle one which was already done. Then it dawned on me that I could take the ply floor out under the steps and and have a cooler area to draw cool air from the bilge when its warm in the bedroom. A quick temperature check revealed the base plate (black area) was 12.5 degrees while the inside of the room was 23 degrees. I also changed the 5 micron primary water filter which was visibly quire grubby. Next time the tank is empty I will move the main stop cock as removing the floor has made more room to position it in a better place right out of the tank.

Then it was on the the rear steps. For ages now I have been intending to fit the rest of the of the tiny LED plinth lights. This has made such a difference to the appearance of the kitchen area and of course the steps.

Without Flash

With Flash
I am undecided about taking the floor out under the rear steps. It would make a nice
pre- cooling area for beer and wine, but as the inverter is now under them this adds heat and makes the box area quite warm so I thinking this might be a source of condensation.
I will consider it again one I have put some additional fans in the side of the steps to dump this heat out.
pre- cooling area for beer and wine, but as the inverter is now under them this adds heat and makes the box area quite warm so I thinking this might be a source of condensation.
I will consider it again one I have put some additional fans in the side of the steps to dump this heat out.


 applied. Next day it was mask removal time to see what was under the mess of paint,
  paper and tape. Looks pretty cool I think.

 Final side work was a 1/4" red-orange stripe put on by the graphics guy and the word "Squirt" done in a 50s retro script lettering.


